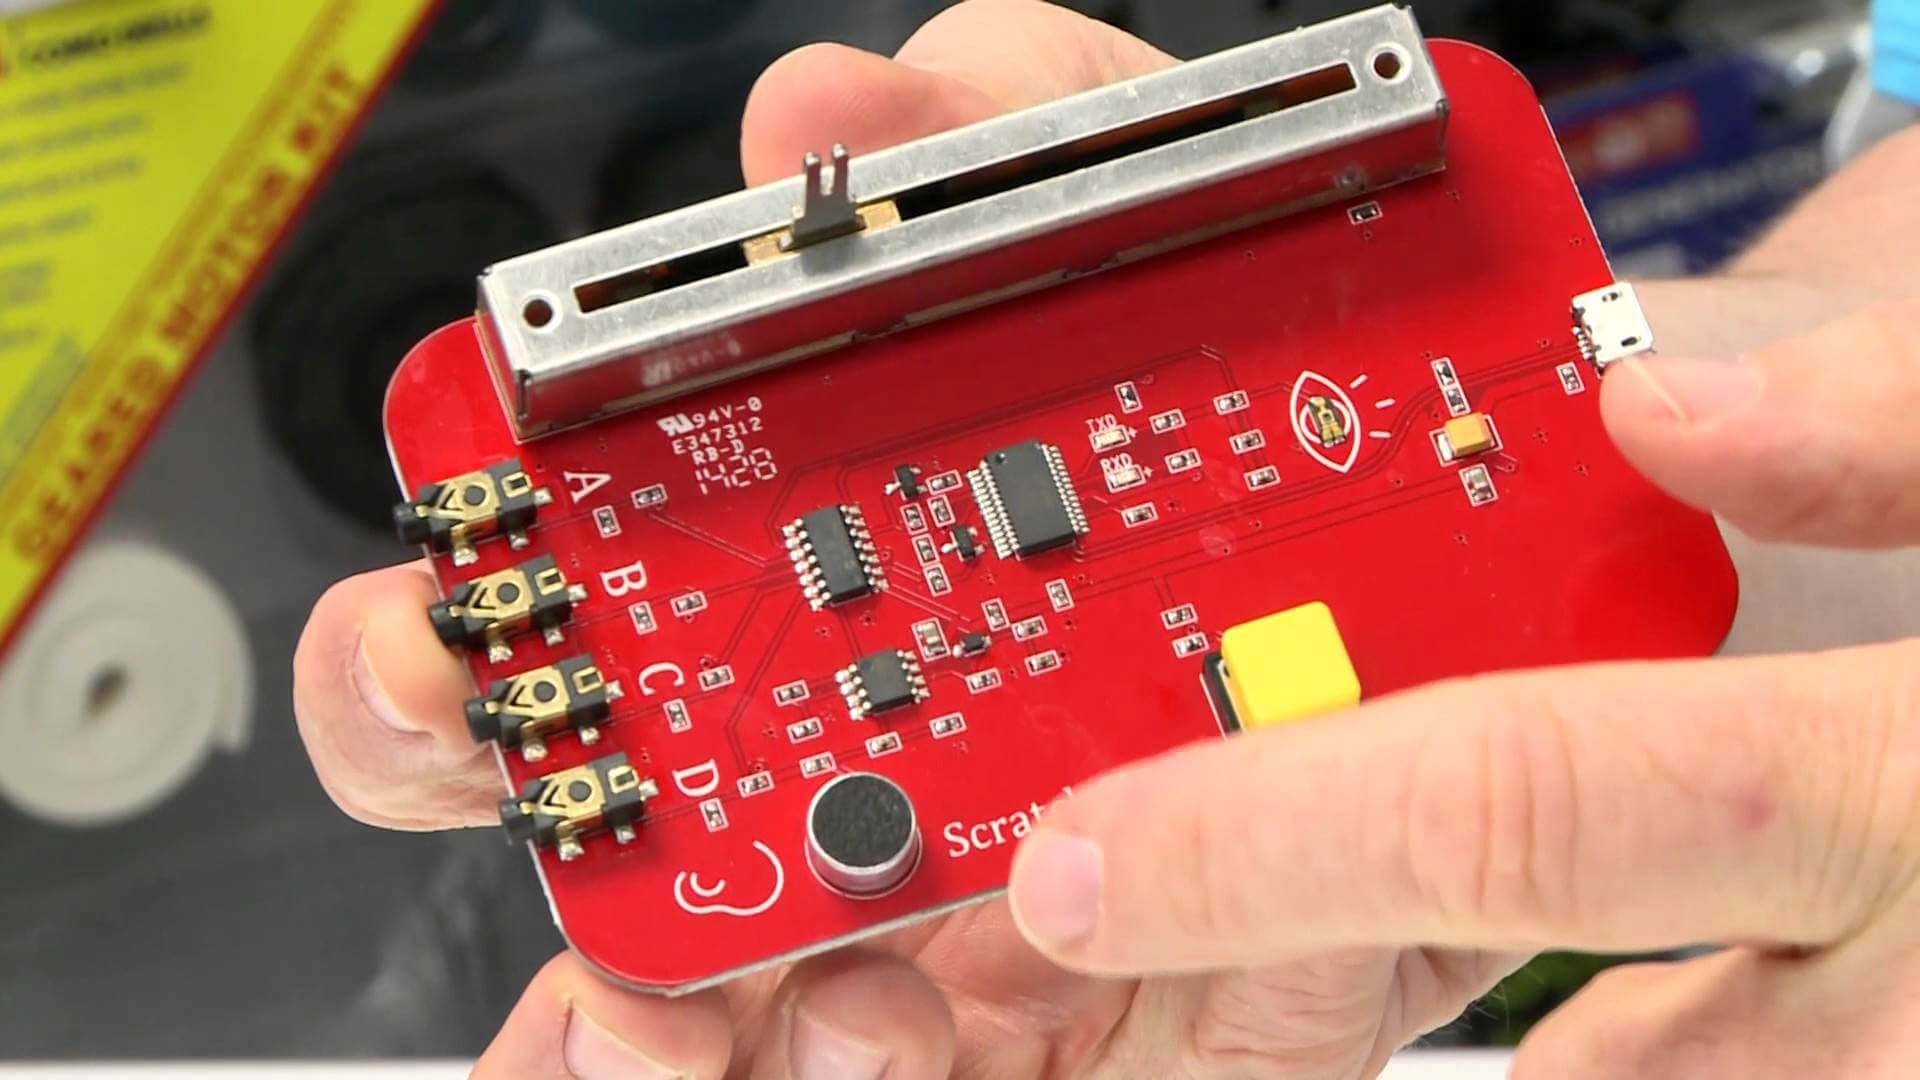
26 Jan PicoBoard & Scratch
I am planning a multi-week coding unit with some Burley Middle School teachers. These are my notes for setting up the PicoBoard microcontroller with MIT’s Scratch 2.0 Offline Editor.
Example
What can you make with a PicoBoard and Scratch? Well, I made an 8-Bit Photo Booth Program that uses the PicoBoard’s button as a shutter release. You can download this project by visiting https://scratch.mit.edu/projects/95516866/. Here’s what it looks like if you don’t have a PicoBoard…
Setup
- Update Scratch offline editor to version 2.0.
- Update Adobe Air.
- Install PicoBoard drivers. I chose “FTDIUSBSerialDriver_10_4_10_5_10_6” on my Mac (OSX 10.10.5). I need to test this on my PC (Windows 8).
- Open and close Scratch 2.0.
- Plug in PicoBoard to open USB port.
- Open Scratch 2.0.
- Go to More Blocks beneath Scripts.
- Press Add an Extension button.
- Select PicoBoard and press the OK button.
- Start using BicoBoard blocks by selecting More Blocks!
Notes
- I have to reinitialize the PicoBoard blocks each time I open a project. Regardless. It does not matter if the blocks are already created as items in a sprite’s script.
- If I unplug the USB connection to the PicoBoard with Scratch, my Mac crashes immediately.
References
MaplinTV (2015). Picoboard for scratch (Maplin N79DP) Available from https://www.youtube.com/watch?v=aocCfnEdFhg


Sorry, the comment form is closed at this time.